Ever thought a simple paint job could revamp your furniture or decor? Chalk painting is more than a trend; it's a DIY magic trick. It turns old items into stunning pieces with just a few steps. This method gives a smooth finish and is super versatile, perfect for giving your space a personal touch.
In this article, we'll show you how to get amazing results. From prepping surfaces to adding the final touches, it's all here. Whether you're a pro at DIY or just starting out and at the end of this article you will find a list of DIY chalk painting to try out as a weekend project.
What is Chalk Painting?
Chalk painting has become popular among DIY fans for its special qualities and simplicity. It gives a soft, matte finish that sticks well to many surfaces with little prep work. This makes it a great pick for updating furniture and decor.
One big plus of chalk painting is how fast it dries. You can finish your projects quickly, without waiting for long. It's also easy to distress for a vintage look, adding to its charm. With many colors to choose from, you can match any style you want.
Learning how to chalk paint is different from traditional painting. You usually don't need to prime or sand, making it easy for anyone to start. This is great for both newbies and experienced decorators.
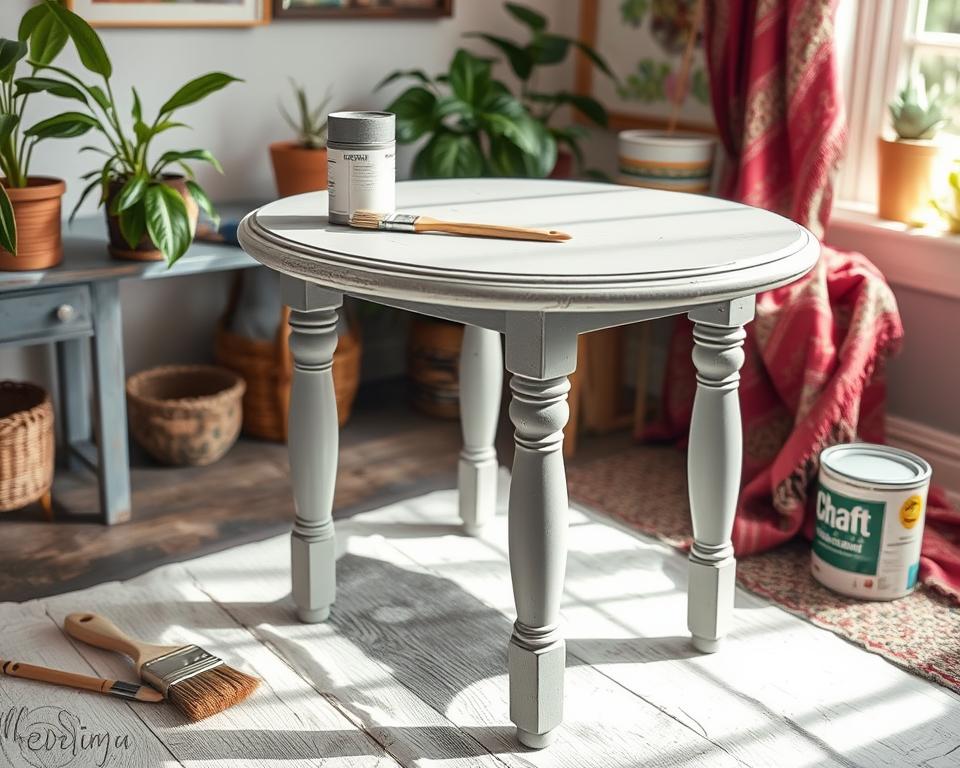
Preping Your Surface for Chalk Painting
Getting your surface ready is key for a great chalk paint finish. Follow some important steps to make your painted items look amazing and last long. Here are some furniture prep tips to get you started.
Start by cleaning your furniture well. Mix warm water with mild detergent to remove dirt, grease, or other stuff. This is a must when learning how to prepare for chalk painting, as clean surfaces help the paint stick better.
If your surface is too shiny, sand it lightly. Use fine-grit sandpaper to make it rough. This makes the paint stick better, giving you a smooth look. If there are big imperfections, fill them with wood filler and sand them when dry.
If your furniture has a dark or stained finish, prime it first. This stops stains from showing through, making your final product cleaner. Make sure the primer works with your chalk paint.
Take your time with these steps; good surface preparation is the foundation of a great chalk painting job. Don't skip cleaning or sanding, as this can ruin your finish and make you unhappy with the end result.

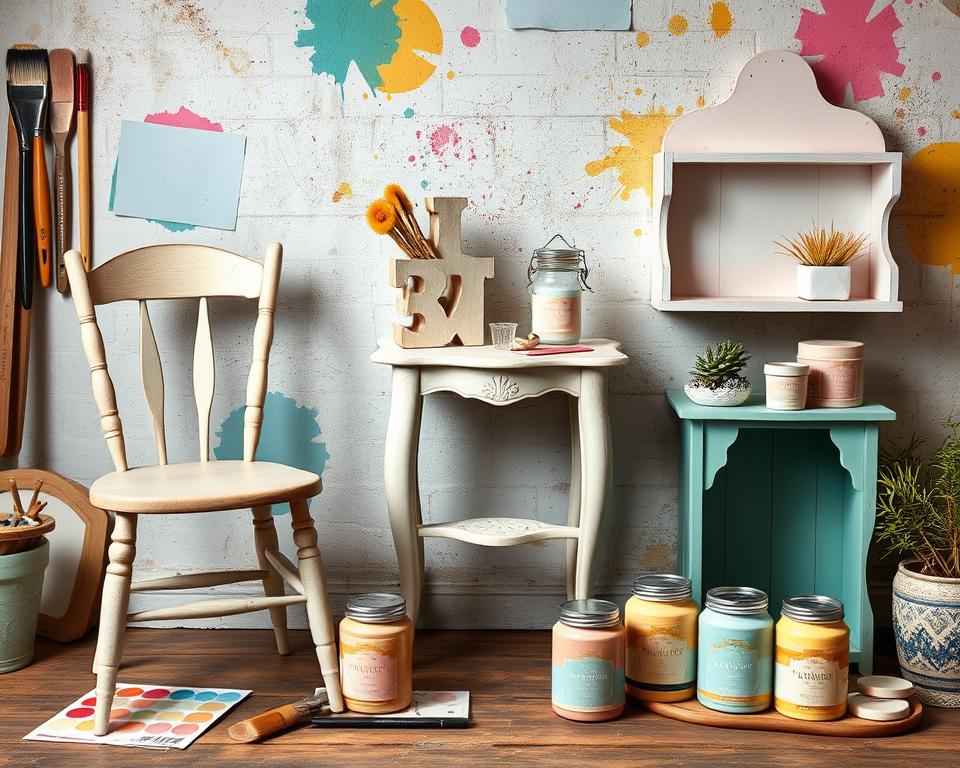
Choosing the Right Chalk Paint Color
Choosing the right color for your chalk painting project is key to a harmonious look. Start by thinking about chalk paint color selection and your room's décor. Consider your personal style and how colors affect the room's feel.
- Room Size: Lighter shades can make small spaces feel bigger. Deeper hues can make large areas cozy.
- Lighting: Natural light changes color appearance. Test colors under different lights.
- Existing Furniture: Make sure your color matches your furniture and home elements.
Keep an eye on popular chalk paint colors in home décor. Soft pastels and muted earth tones are timeless and versatile. They fit many styles, from rustic to modern.
Before deciding, test colors on your piece. This color matching for home decor helps you see how the color works in your space. Enjoy the process and let your creativity guide you to the perfect color!
Upcycling Furniture in Easy Steps
Upcycling furniture with chalk paint turns old pieces into beautiful works of art. You'll need chalk paint, a brush, sandpaper, and a sealant. Make sure you work in a well-ventilated area and cover the floor with a drop cloth.
Follow this furniture makeover guide for an effective approach:
- Preparation: Clean your furniture well to get rid of dirt and grease. Lightly sand glossy surfaces to help the paint stick better.
- Priming: Start with a base coat of chalk paint. This ensures even coverage and a better finish.
- Painting: Use a brush or foam roller to paint, always in one direction to avoid brush strokes.
- Drying: Wait for each coat to dry fully before adding another. This usually takes one to two hours.
- Finishing: After you've reached the desired color, apply a sealant to protect your work. This step makes your artwork last longer.
These steps work for many furniture items, like chairs, tables, and cabinets. With patience and creativity, you can give your old furniture a new life.
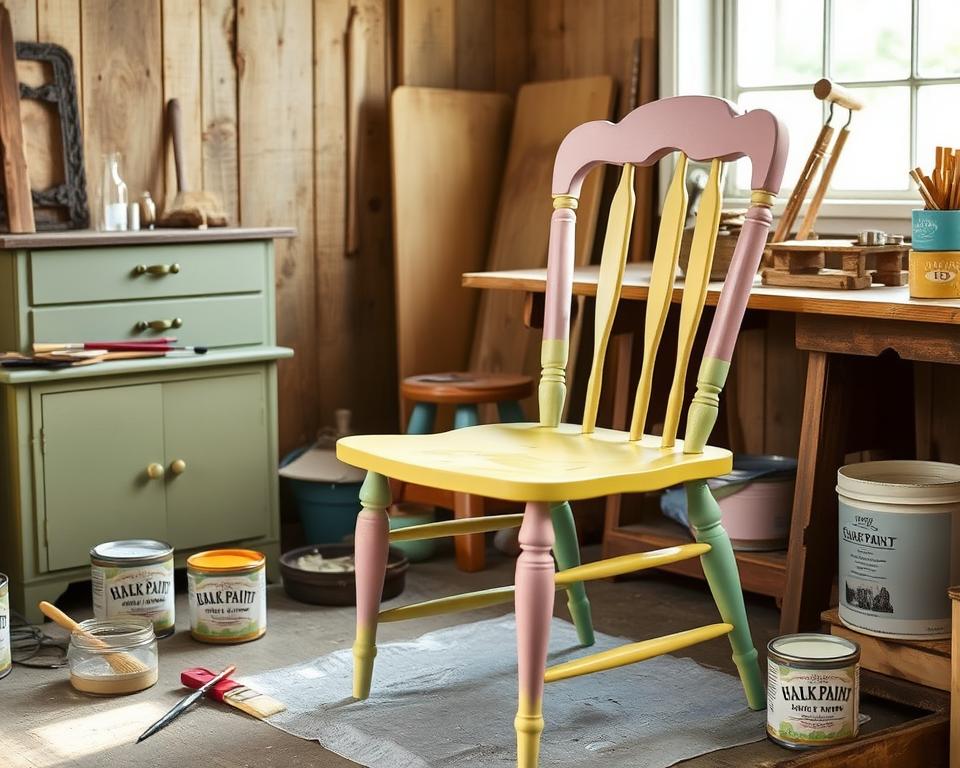
Techniques for Achieving Different Finishes
Exploring different chalk paint finishes can make your projects truly unique. You can make your furniture and decor stand out by trying out distressing techniques. These methods let you customize your painted surfaces, adding depth and character.
Here are some techniques to consider for achieving different paint effects:
- Wet Distressing: This technique involves using a damp cloth or sponge to remove some of the paint, creating an aged look.
- Sponge Painting: Use a sponge to add texture or an additional color for a more dynamic finish.
- Layered Colors: Apply multiple layers of different colors and distress the top layer for a unique result.
With practice, you'll get better at using chalk paint finishes. Don't be afraid to try new things. Experimenting with different techniques can lead to amazing results that match your style.
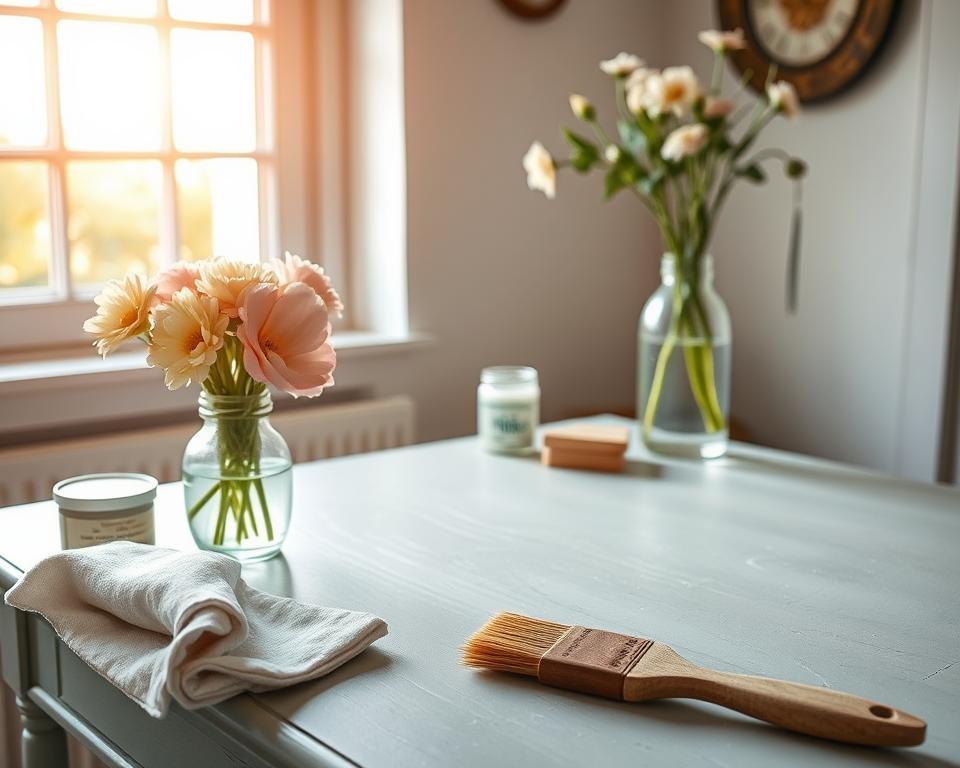
Sealing Your Chalk Painted Furniture
Sealing your chalk painted furniture is key to keeping it looking great. Without sealing, your work might lose its shine over time. The right sealant can make your painted items last longer.
There are two main sealants to choose from: wax and polycrylic. Each has its own benefits:
- Wax gives a soft, matte look and makes colors pop. It takes some effort to apply but adds a classic touch.
- Polycrylic is a clear varnish that dries fast. It makes your furniture glossy and is great for busy areas.
Here are some tips for applying sealants:
- Use a good brush for smooth application.
- Apply thin layers, letting each dry before adding more for better protection.
- Focus on corners and edges, as they need more sealant for full coverage.
Letting the sealant dry fully is crucial for lasting protection. Always follow the product's drying time for the best results.
Maintenance Tips for Chalk Painted Items
Keeping your chalk painted furniture and décor looking vibrant requires a bit of care. Regular maintenance for chalk paint is essential to ensure the longevity of your beautiful pieces. A few simple practices can make a big difference.
When it comes to caring for chalk painted furniture, avoid using harsh cleaning solutions. Instead, opt for a damp cloth with mild soap to wipe surfaces. This helps prevent damage to the chalky finish. For deeper cleaning, consider using a soft sponge to gently scrub any stubborn spots. Always rinse the cloth or sponge thoroughly to remove soap residue.
To maintain the sheen and color of your painted items, regular dusting is a must. Use a microfiber cloth to pick up dust without scratching the surface. Ensure your painted furniture is not exposed to extreme sunlight or moisture, which can alter the finish over time.
In case you encounter minor scratches or chips, don’t worry. Simple touch-ups can restore the look. Use a small brush to apply a little chalk paint to the affected area, allowing it to dry completely before sealing it with a protective coat.
By following these cleaning tips for chalk paint, you can keep your beautifully painted furniture looking fresh and stylish for years to come.
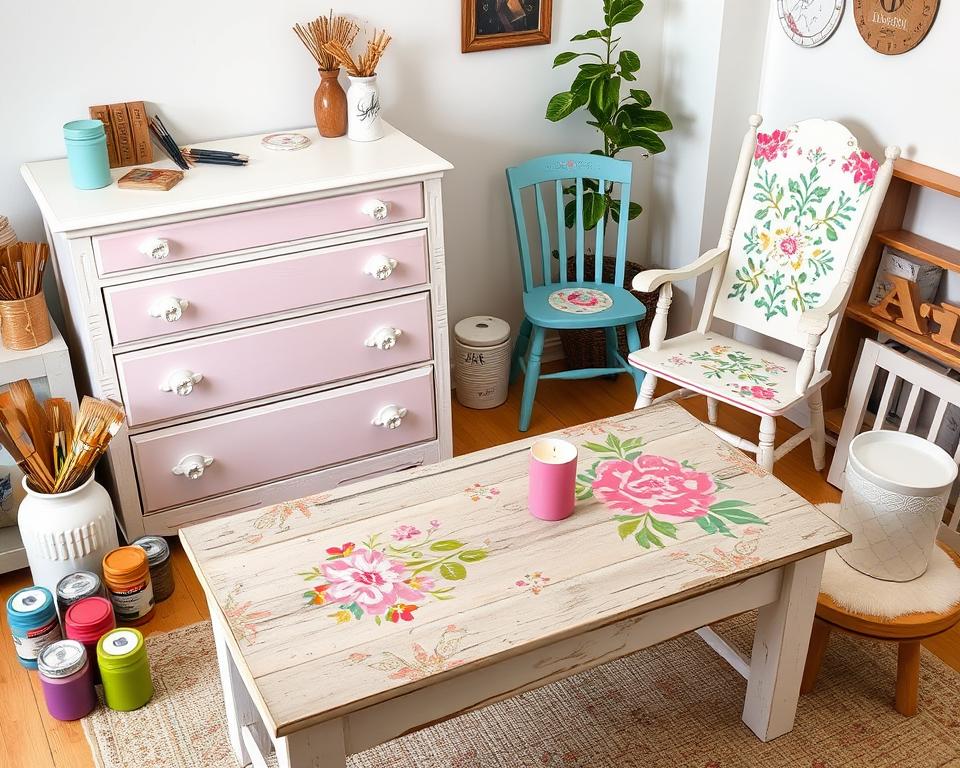
DIY Home Projects with Chalk Paint
Starting DIY chalk paint projects can change your home in amazing ways. It doesn't matter if you're new to crafting or have lots of experience. There are many chalk paint crafts for every skill level. At the end of this article you will find list of easy DIY tutorial for upcycling furniture.
Make Your Own Chalk Paint Recipe for Furniture
Here, we’ll guide you through exactly how to make your own chalk paint recipe with simple ingredients. With very little effort and expense, painting your furniture will be easy and fun!
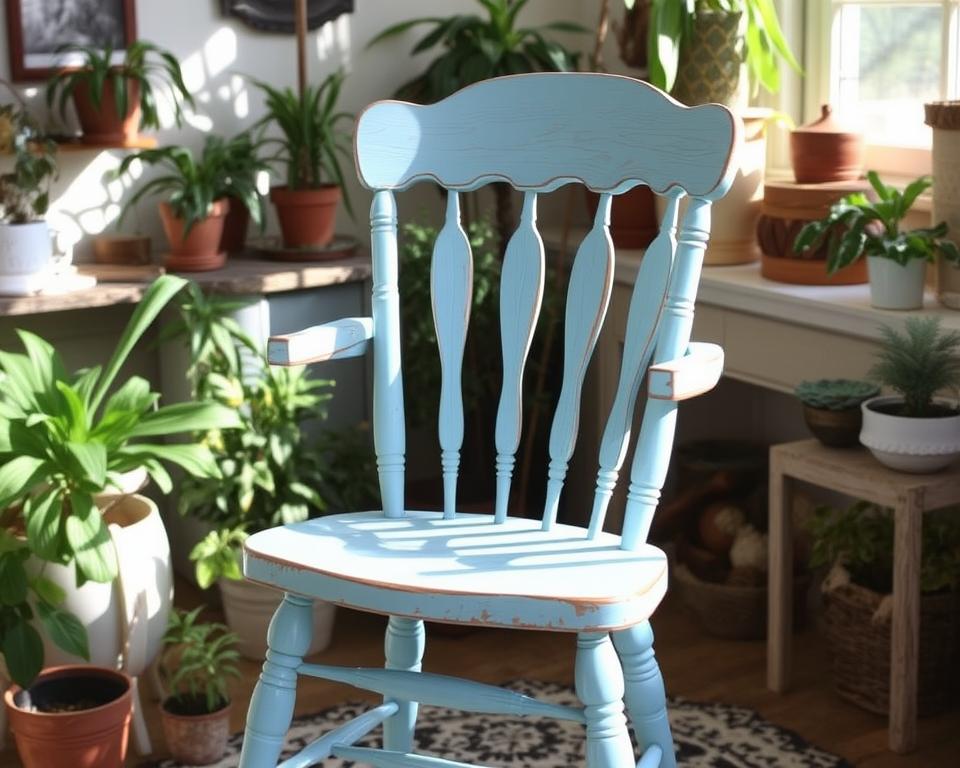
DIY Chalk Paint Chair Makeover
The chairs were solid but obviously had seen better days. It was nothing a chalk paint makeover couldn’t cure
How to Paint an Ugly Old End Table with Chalk Mix
There’s actually a bit of a story behind this one. I bought it a couple of years ago to paint. But when I got it home my husband said he liked it. Usually I don’t sand at all when I use a chalk or mineral type paint but the finish on this table was a little rough, especially on the top shelf.
Sleigh Bed Makeover With Chalk Mix and Paint
I have never been a fan of this pine wood but I loved the shape of this bed and it is on wheels. The solid wood bed was purchased at a thrift store about 10 years ago. It is still in great condition, and I am not going to spend the money on a brand new bed when I know that I can make this bed look like something from a high-end store. The plan is to go for a Restoration Hardware look.
Spindle Leg Table with Grain Sack Stenciled Top
Today the Farmhouse Hens are focusing on farmhouse furniture and I am sharing this cute spindle leg table with a grain sack stenciled top
Farmhouse Kitchen Bench Makeover with Diva Chalk Mix Paint
I refinished our round oak dining table and gave it a beautiful soft white makeover. At the same time, I gave our mis-matched chairs a coat of navy blue spray paint to tie them all together.
I Pad Holder from Blah and Bleek to Farmhouse Chic
This really was an easy project and I pretty much got it done in a day. Most of that was waiting for the paint to dry.
How to Paint Furniture Faster Using Chalk Mix
This little shelf was my very first furniture refinishing project! It has come a long way from where it started but I think the latest look is a total keeper! And that was made possible by Diva of DIY’s Chalk Mix.
How To Bring An Old Boring Piece Back To Life With Paint
For this makeover, I simply wanted to change some furniture pieces, add in some color where ever I can, and just bring a little life to our space.
French Script Side Table
I thought the best place to start was with a side table that she had which of course I had all intensive purposes of painting along time ago but time just got away from me! Which brings me to sharing her French Script Side Table makeover.
How to Paint a Wooden Bread Box
Give that old bread box a new look! Get my tips for painting a wooden bread box with chalk paint and a stencil in this easy DIY project!
Easy DIY Scrap Wood Pumpkin
I am excited to show how I made this cute, simple, and easy scrap wood pumpkin! I used some leftover 2x4s. I love using leftover stuff! :)
How to Update a Table with a little Paint and Wax
I found this cute little octagon side table a couple months ago and fell in love. It has so much detail and octagon is such a unique shape I had to have it. Oh, and the fact that is was $10 might have helped my urge to have to have it a bit. I love the look of chalk style paints but here is my dilemma, who wants to spend $40 on paint for a $10 table? Not me! That is why I am now offering an alternative to those expensive paints.
How to Paint Furniture with Chalk Paint
One of the most labor intensive parts of Luke's new big boy bedroom was this dresser makeover! If you've ever wondered how to paint furniture with chalk paint this post is for you! Even though it takes awhile, it really is so easy!
How to Chalk Paint Furniture Step by Step
Don’t throw away that old piece of furniture! These easy step by step instructions will teach you how to chalk paint furniture instead.
Chalk paint is great because it's easy to use and versatile. With basic materials and a bit of creativity, you can start many DIY chalk paint projects. Enjoy making your space special with your own chalk paint crafts.